Now that we have covered retail displays in our Retail Space series (see past blog posts) we want to cover how to set up a successful booth display for a craft show, art show, fair, festival, or trade show.
A lot of the same tips apply, so don’t forget to read our Retail Space posts, but there are added challenges when designing a booth display. Often space is a factor, as most booths are 10’ x 10.’ And of course, there is the matter of being able to set up and tear down your booth display quickly and efficiently. Transportation is also a huge factor in creating a booth space for your product.
First let’s talk style and design. In a retail space, creating a design that attracts the customers eye and attention is important. In a booth display, this is even more crucial, as there are most likely other vendors vying for attention on all sides.
Color, lighting, and the use of a common design scheme throughout the booth, creates a visual experience that draws customers into the space. Creating a common theme will also reinforce your brand, whether that be with color, style, layout, etc.

With limited space, it is still important to have an open feeling in the booth, so that customers feel the desire to step into the space, and do not feel crowded. It is just as important to have ample display space to display your products. Consider using tiered shelving and raised counters, hanging displays, and rotating shelves or lazy susan style displays to give yourself more space. This will also help to avoid clutter within the booth. Creating levels with product and shelving can also assist in drawing a customer’s attention from a distance, as products laid out horizontally on a flat surface, can make the booth appear empty.
Signage is also very important when designing your booth space. A unique and interesting sign will help people to remember your name and logo. Signage displaying pricing can also be useful, as you may be busy with other customers when a potential customer has a question about price. It can be a turn off if customers need to ask how much everything costs, so be sure to label each item clearly.
One of our biggest tips is to keep the display, or shelves, subtle so that the products are what stand out. The last thing that you want is for your display to take away from the product that you are trying to sell.
The layout of the booth is also important to consider and to plan ahead of time. products being sold, and the flow that you desire in the booth, will determine what is the best layout.
A straight-line layout works best when browsing is not as crucial as being able to talk to customers immediately as they walk by. A straight-line layout often has a table or display at the front of the booth, with the option for chairs, and a taller display in the back of the booth, that may be used just for overflow merchandise, or for viewing purposes.

Gallery style allows for a flow of customers along one side of the booth, and then the other, using two walls as display walls. This layout is like that of a galley kitchen and is best used when you have enough products that you need more display space, and want to encourage browsing.

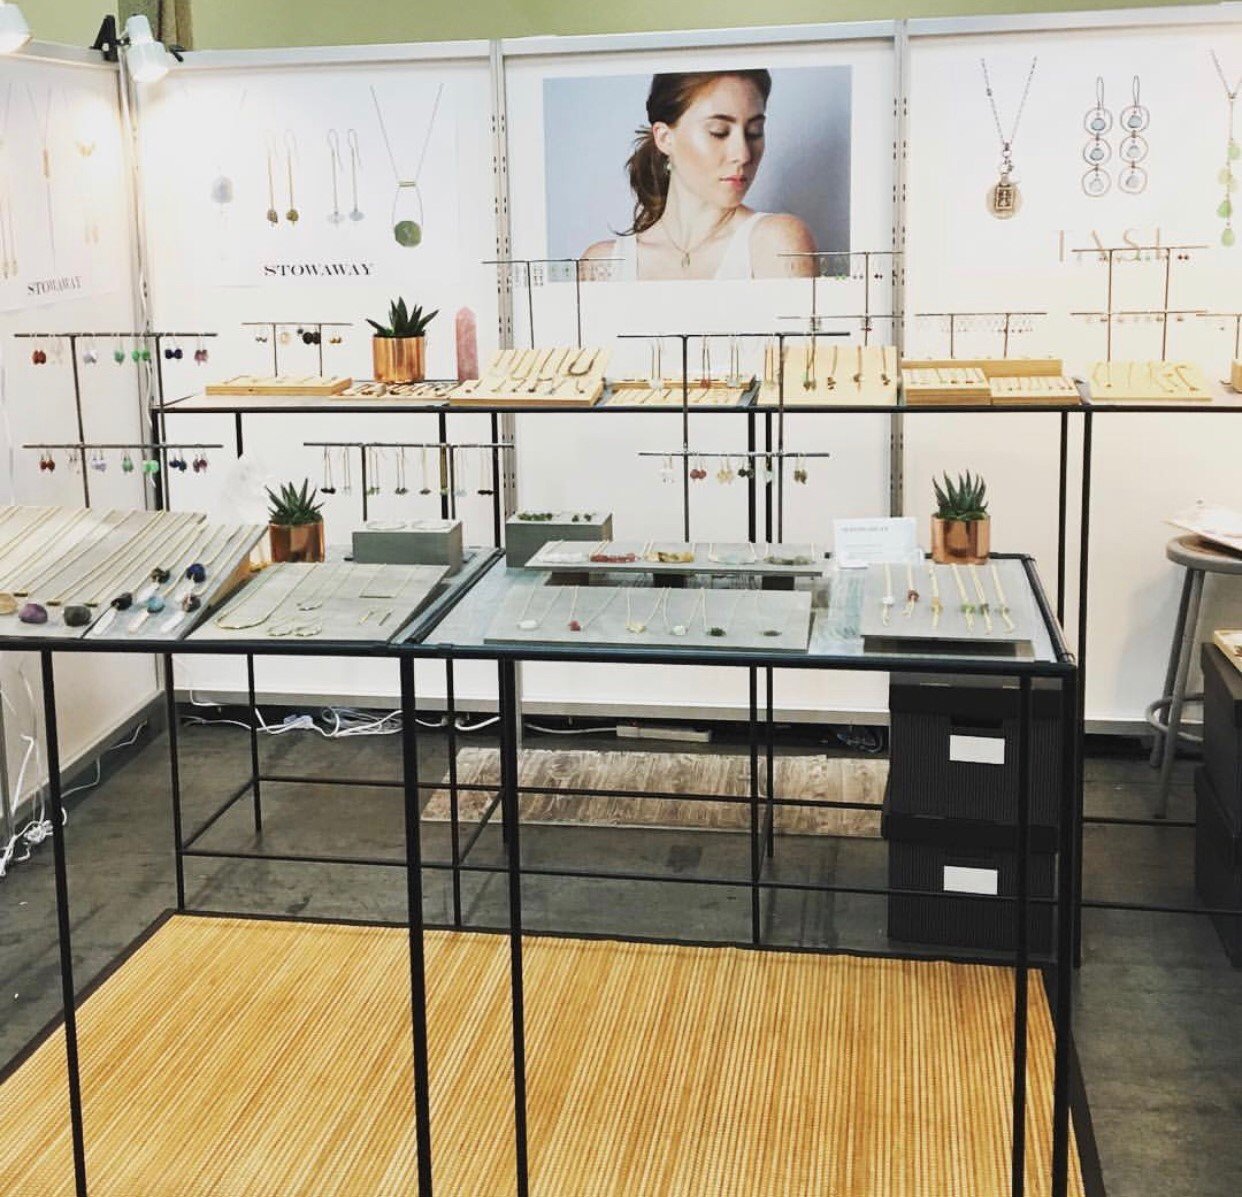
An L shaped design creates a barrier between the audience or customers, and the artists, by using a display in an L shape in the center of the booth, with room for chairs or stools behind. This works well with glass cases and art that should be viewed before being handled, as it can put artists in charge of what is handled.

A U-shaped design allows for even more display space, and once again the potential to use glass cases and allow the artists more control over what is handled. The displays can also be open and give customers a wide range of products to view and sample. There may be limited space to walk around this display, depending on the size of the booth, and the barriers in between each space. However, the extra surface area to display products may make up for this fact, depending on what type of product you are selling.

As with the L design, the U-shaped design can also be inverted, and has a similar flow to that of the Gallery layout, but with more space to display product. Shelving or displays can cover three walls instead of two.

An open T design cuts the display areas into three spaces, and gives customers room on each side of the booth to enter and browse. This also can still allow for seats in the back of the booth and a space for vendors to be out of the way of customers browsing, while still able to answer questions over the display.

An Open T with L Design is often used when a vendor wants to have a separate checkout area. Product is displayed in a T layout along one wall and part of a second wall, with a space between, creating a separate checkout counter. This also can provide room for seats for vendors, behind both the checkout area and the display area if desired. The flow of customers often follows the flow of the display to checkout counter in this set up.

A mixed design gives vendors a variety of spaces to display product, and works best when the products being sold are of varying sizes, heights, styles, and uses.

Leave a reply
You must be logged in to post a comment.